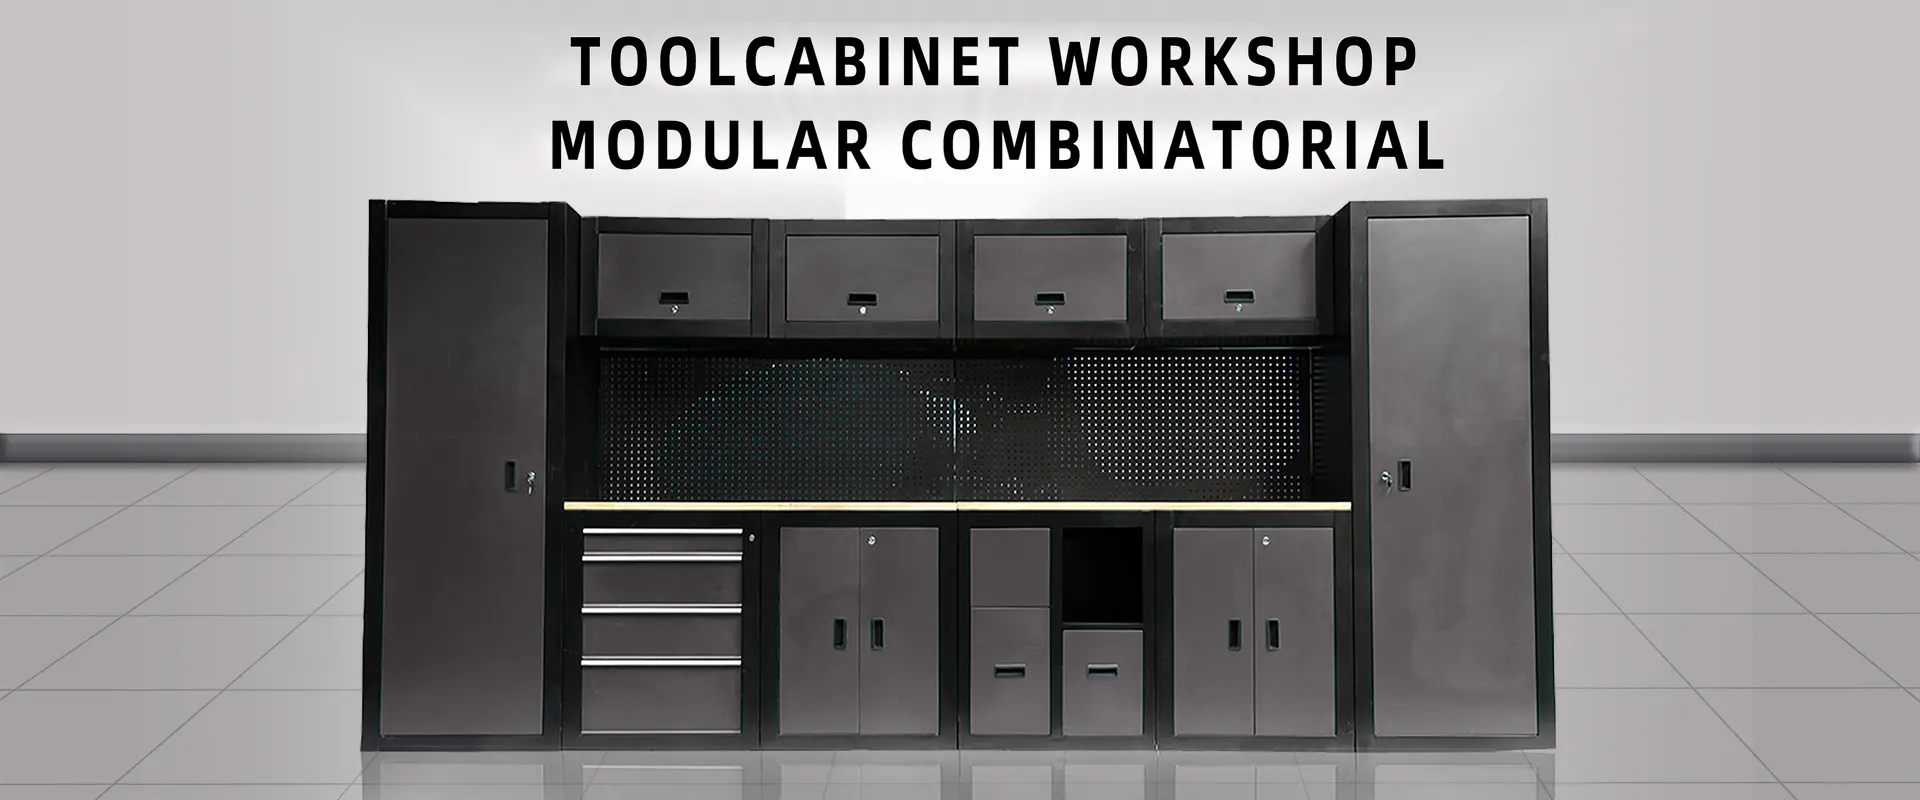
How to make the tool storage on the hole board more obvious?
To make the storage of tools on the hole plate more clear, you can start from the following aspects:
First, classification and storage
Manual tool area: Place hand tools such as screwdrivers, wrenches, and pliers in separate areas. For example, place all screwdrivers in the upper-left area of the hole plate, in order of size and type (flathead, Phillips, etc.), so that their handles are inserted into the holes in the hole plate, so that the head of the screwdriver faces outward, so that the specifications of the screwdriver can be seen at a glance. Similarly, the wrench can be hung in an adjacent area according to the size, and the pliers are neatly hung in another dedicated area, so that when a specific type of hand tool is needed, it can be quickly located in the corresponding area.
Electric tool accessories area: For electric tool accessories such as drill bits and electric screwdriver heads, a separate area is set up for storage. Hang bits and lot heads of different sizes in different categories, for example, put bits of the same diameter in the same column, and label the diameter. Color labels can be used to distinguish different types of accessories, such as the red label represents the drill bit and the blue label represents the electric screwdriver head, making different types of tool accessories more visually clear.
Measuring tools area: Place measuring tools such as calipers and tape measures together. The tape measure can be hung from the hole plate by a hook, and the caliper can be placed in a special card slot, which is fixed to the hole plate, so that the caliper can be placed horizontally for easy viewing of the scale and model number.
Classify high frequency areas by frequency of use: Place the most commonly used tools in the center of the hole board or in the most accessible area. For example, several specifications of screwdrivers and wrenches that are often used in daily maintenance work can be placed in the row of holes nearest to the user. In this way, in the case of emergency maintenance or frequent tool use, there is no need to look for the entire hole board, and the required tools can be quickly obtained.
Low frequency use area: Put special tools or spare tools that are not used often on the edge or higher position of the hole board. For example, some special wrenches that are only used during the maintenance of specific equipment, or extra batch heads as backup, can be placed above the hole plate, and the user can find them from memory or label tips when needed.

2. Clear identification
Tool Name Identification Make clear labels for each tool or tool category. The label can be attached directly to the hole board, next to where the tool is placed. The font of the label should be large enough to be easily read within normal working distance. For example, label the screwdriver in the screwdriver area, and label the specific model, such as PH2 Phillips Screwdriver and SL3 flat-head screwdriver, to the position of each screwdriver with different specifications. For the small parts storage area, it is also necessary to mark in detail, such as "M4 nut" and "10kΩ resistor", so that users can know at a glance what tools or parts are stored in each location.
Instruction mark (if necessary) For some tools with special operation requirements or combined use, you can add instruction mark on the hole board. For example, some complex multi-function tools, pasted next to it brief instructions, including how to adjust the function, how to install accessories, etc. Or for tools that need to be used together, such as a specific drill bit and a matching chuck, mark the correlation next to their position to remind the user of the correct way to use.
3. Visual layout
Use different colored hooks, storage boxes or labels to distinguish between different types of tools. For example, use red hooks to hang dangerous tools (such as knives) and green hooks to hang safe tools (such as plastic tools). Or for the tools used by different departments, use different color labels to distinguish, such as blue labels for the tools of the production department and yellow labels for the tools of the maintenance department, so that the category and purpose of the tools can be visually quickly distinguished.
Shape and size arrangement When placing tools, try to arrange them according to the rules of shape and size. For example, when hanging pliers, place pliers with similar shapes (such as needle-nose pliers and bent-nose pliers) next to each other and arrange them in order from largest to smallest or smallest to largest. For the small parts stored in the box, the box is also arranged in order of size, so that the layout of the entire hole plate looks more orderly, and it is convenient for the user to form a clear impression of the location of the tool in the mind.

