
Leave Your Message
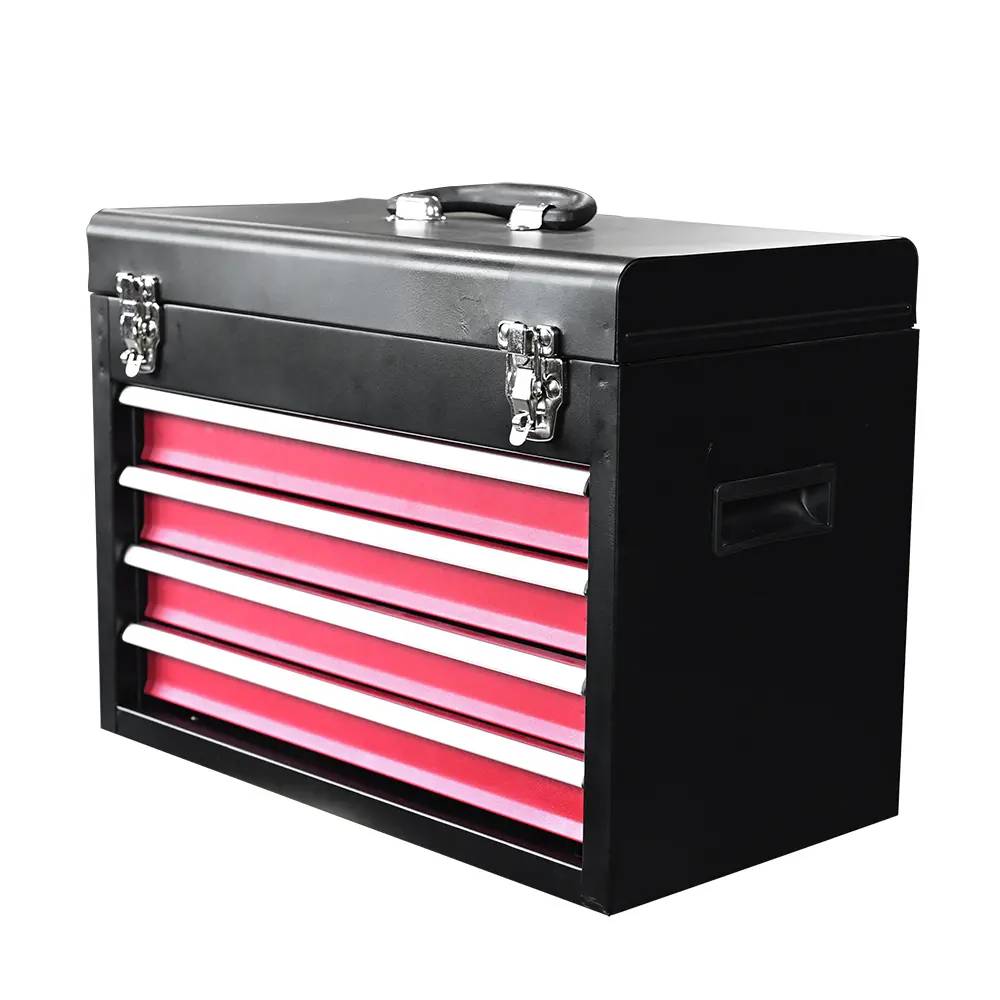
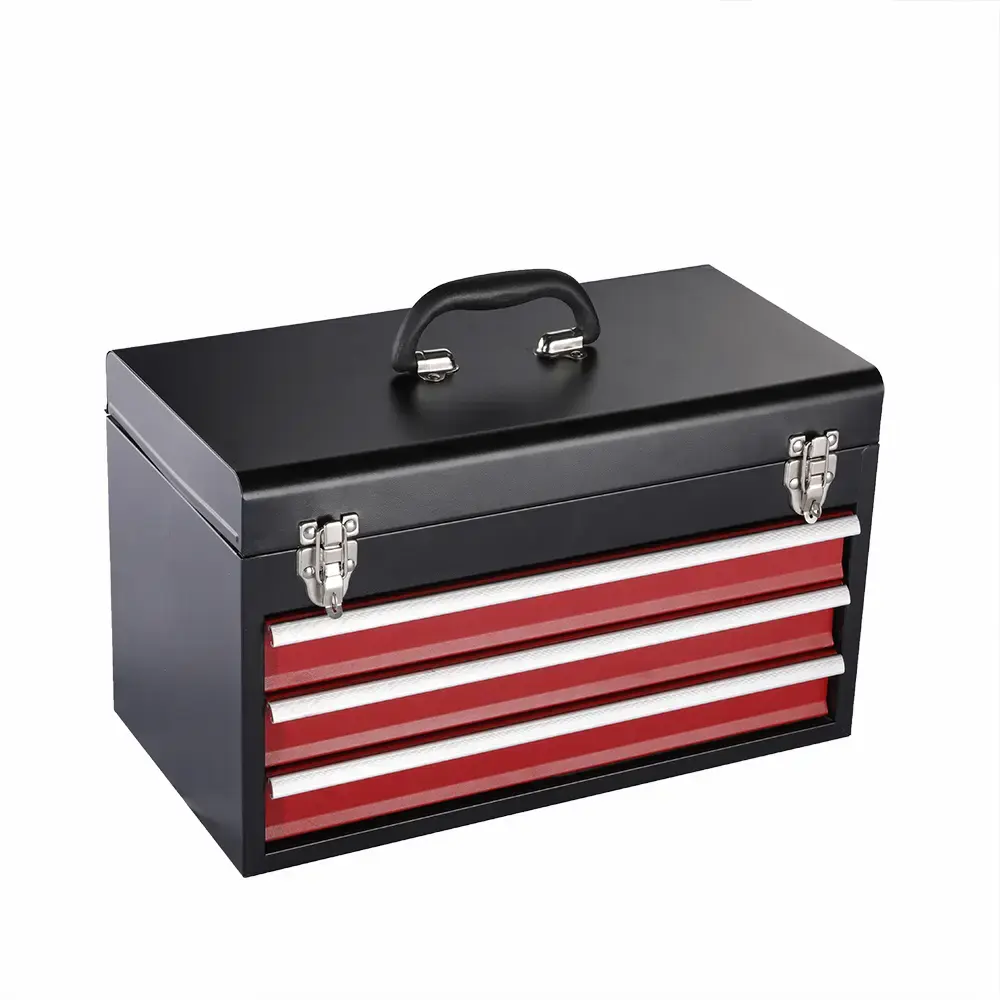

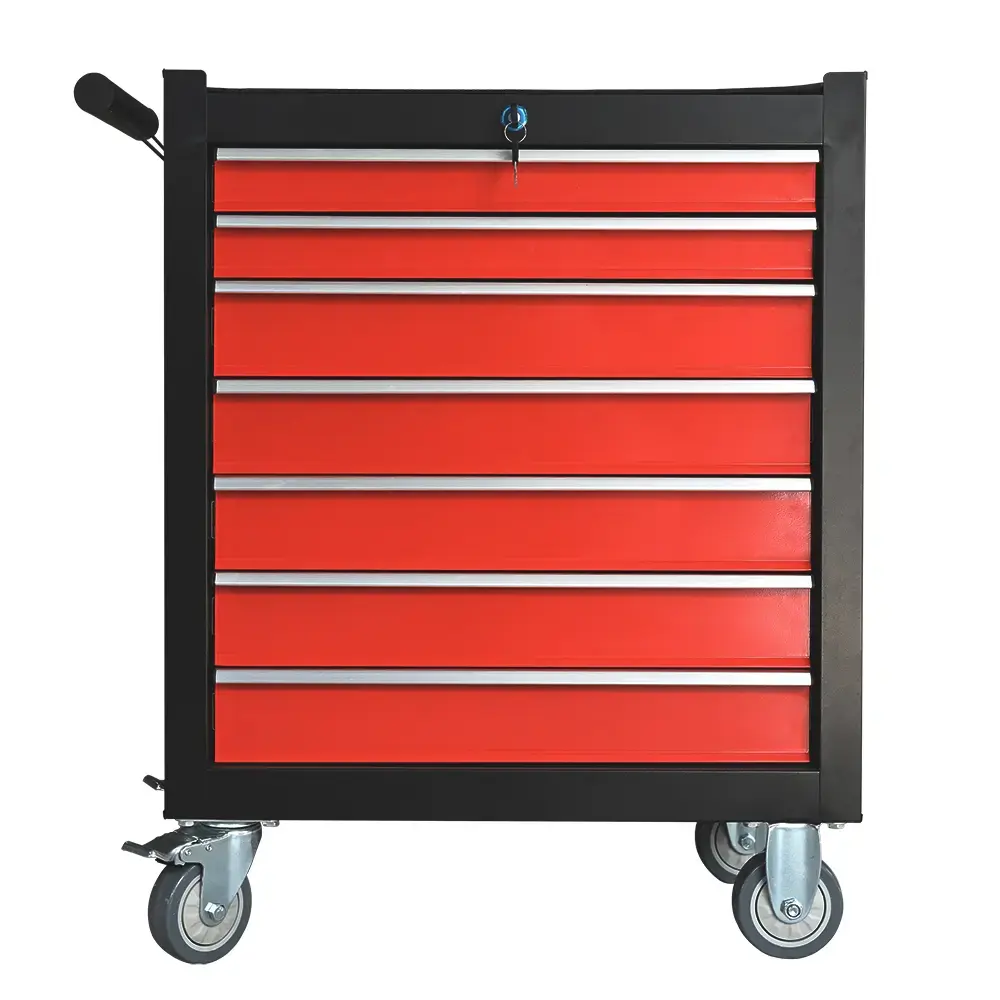


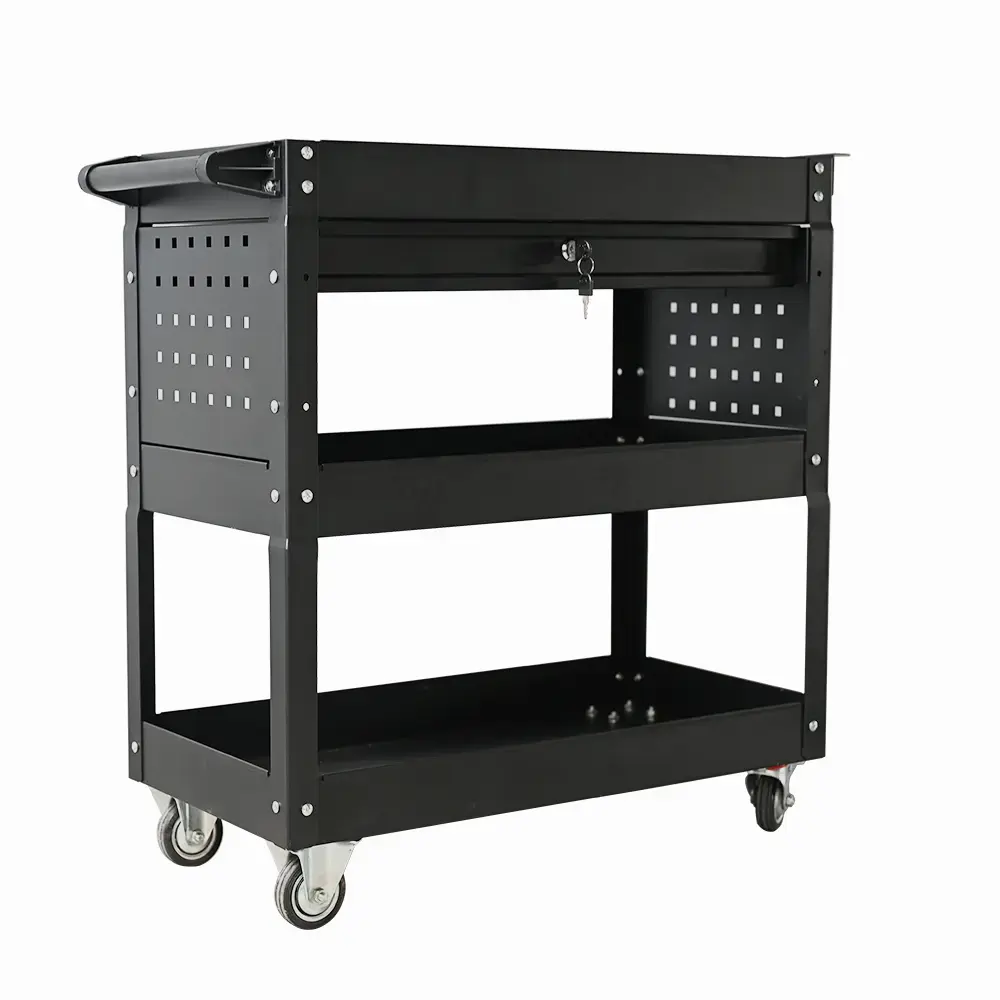

Loose swivel casters? Don't panic! Guide you step by step to quickly repair the pulleys in your tool cabinet
A Tool Cabinet fully loaded with tools is the efficient core of your workshop. It can move along with you and precisely bring the necessary tools to the work point, greatly enhancing work efficiency. However, when the casters of the tool cabinet start to loosen, shake or even make a shrill noise, it will not only become an annoying problem, but also may evolve into a safety hazard, affecting the stability of the cabinet and the safety of the tools.
For professionals responsible for equipment procurement and maintenance, it is crucial to understand how to quickly diagnose and fix this problem. This article will provide you with an in-depth analysis of the common causes of loose casters in tool cabinets and offer a series of immediate and step-by-step quick repair techniques to help you quickly restore the stability and tranquility of your tool cabinet.
The first step: Precise diagnosis - identify the root cause of the loosening of the casters
Spending a few minutes on an accurate diagnosis before starting the repair work is the key to success. Blind operation may waste time and even cause secondary damage to the wheels or cabinet body. Please tilt the tool cabinet (be sure to empty it or remove heavy objects to ensure safety), and then carefully check the following most common fault points:
Loose installation nuts or bolts: This is the most common and easiest problem to solve. Long-term pushing on uneven ground, changes in load, or incomplete tightening during initial installation can all cause the nuts or bolts that fix the wheels to become loose.
Wear or deformation of connecting parts: Check whether the wheel bracket (i.e., the metal or plastic component connected to the cabinet body) has visible cracks, bends or wear. Metal fatigue or unexpected violent impacts can both cause it to deform.
Axle wear: For non-swivel wheels or wheels of specific structures, the axle itself may wear out and become thinner due to long-term use, resulting in an increase in the gap between the axle and the wheel hole, thereby causing shaking.
Wear of installation holes: The screw holes on the bottom plate of the cabinet that fix the wheels may be expanded due to long-term vibration and pressure, resulting in the wheels remaining unstable even when the bolts are tightened.
Step 2: Prepare your "combat readiness" tools
For the above problems, you usually don't need very professional tools. A basic Toolbox can handle most situations:
Adjustable wrenches or a set of open-end wrenches
A set of hex wrenches (Allen wrenches)
Screwdriver (flat head and crosshead)
Cloths and lubricants for cleaning
(Optional) Threaded fastening adhesive
(Optional) Gasket for filling holes (metal or nylon material)
Step 3: Step-by-step repair technique - from simple to complex
Please try the following methods in the order from simple to complex.
Technique One: Basic Tightening Method (for loose nuts/bolts)
This is the most direct solution that you should try first.
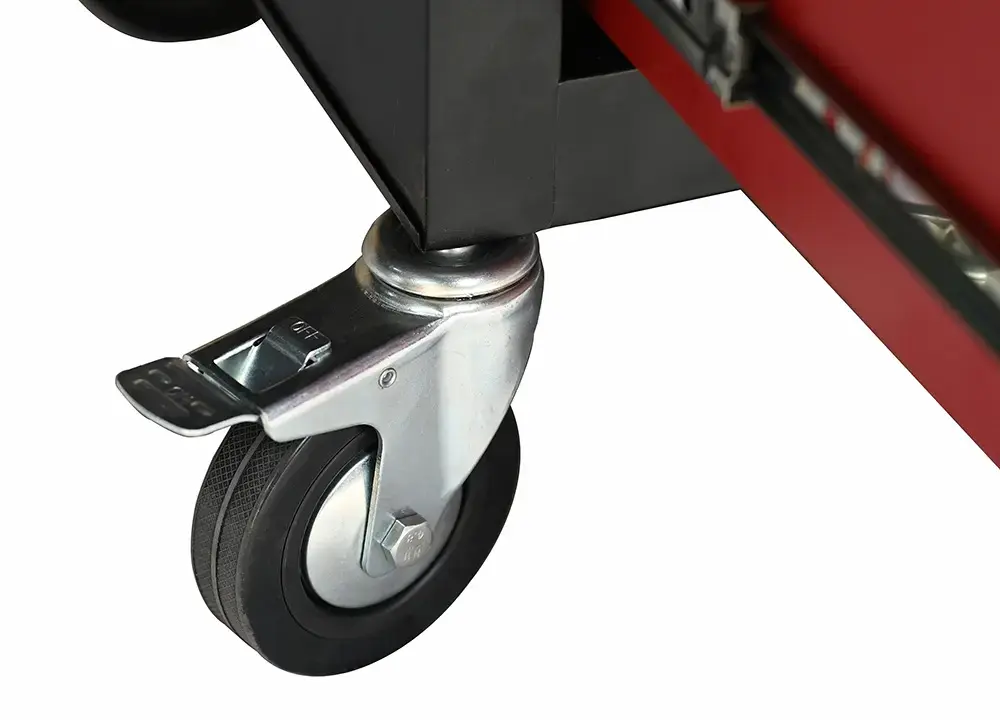
Locate the fixed point: Find the nut or bolt that fixes the universal wheel assembly. It is usually located on the bottom plate inside the cabinet, and the wheel axle passes through the bottom plate to connect with it.
Choose the right tool: Select the appropriate wrench or hex wrench based on the type of nut or bolt head. Make sure the tool fits the fastener perfectly to prevent slippage and damage to the edges.
Apply torque: Tighten it steadily in a clockwise direction. Please note that "tightening" does not mean "exerting all one's strength". Over-tightening may cause the threads to slip or damage the threads, especially for cast iron cabinets or softer metal parts. After feeling obvious resistance, just apply a little more force.
Technique Two: Enhance Anti-loosening Method (Use threaded fastening glue)
If you find that a certain wheel keeps loosening repeatedly and no matter how many times it is tightened, it usually means that the thread has undergone slight permanent deformation due to long-term vibration and has lost its original self-locking ability.
Complete disassembly: Remove the wheels completely from the cabinet body.
Clean the threads: Thoroughly clean the threads of the bolts and nuts with a cloth and detergent (such as WD-40), remove all oil stains and debris, and allow them to dry completely. This is the key to ensuring that the glue takes effect.
Apply glue: Apply a small amount of medium-strength thread fastening glue (such as Loctite 243) to the threads of the bolt. Note that only 2 to 3 circles are needed, no more.
Reinstall and tighten: Immediately reinstall the wheels onto the cabinet and tighten them to the standard torque following the method described in "Technique One". The thread adhesive will cure in the air, forming a tough plastic film that effectively prevents loosening caused by vibration. This repair method can provide a semi-permanent anti-loosening effect.
Technique Three: Gap Filling Method (for worn installation holes)
If the wheel still shakes after the bolts are tightened and you notice that the installation holes on the bottom plate of the cabinet have become larger and deformed due to wear, then what you need to solve is the problem with the holes themselves.
Assess the size of the hole: Observe the expanded installation hole. If it only increases slightly, this method is very effective.
Use a gasket: Find a metal gasket or heavy-duty nylon gasket with an inner diameter similar to that of your bolt and an outer diameter larger than the wear hole.
Install the gasket: Place the gasket over the bolt to ensure it fits tightly between the worn hole and the nut. When you tighten the nut, the gasket will act as a new, sturdy pressure-bearing surface, evenly distributing the pressure to the wider area of the cabinet bottom plate, thereby eliminating the gaps and wobbling caused by the enlarged holes.
Technique Four: Bracket Correction and Lubrication (for Minor deformations and abnormal noises)
If the wheel bracket is only slightly bent, you can try to correct it.
Using the lever principle: Firmly fix the tool cabinet, use an appropriately sized adjustable wrench to hold the bent part, and slowly and evenly apply pressure to return it to its original shape. Remember: This operation requires extra caution to avoid causing secondary fractures to the fragile cast iron components.
Lubricate moving parts: For swivel casters, their inflexible steering may also intensify the sense of looseness. Spray a small amount of lubricant onto the steering bearing of the wheel (i.e., the center axis where the wheel can rotate), and then repeatedly rotate the wheel to allow the lubricant to fully penetrate. Wipe off the excess oil stains to prevent dust from adhering.

Prevention is better than cure: Daily maintenance suggestions
A successful fix can solve the problem, but good usage habits can prevent it from happening again.
Smooth push: Try to avoid forcibly pushing the tool cabinet on the ground with large ditches or accumulated debris.
Regular inspection: At regular intervals, check the tightness and wear of all wheels.
Reasonable load capacity: Do not continuously overload the vehicle, as this will exert tremendous pressure on the wheels and connecting parts.
Keep clean: Promptly remove cables, hair and debris tangled around the wheel axles, as they can accelerate wheel wear and affect flexibility.
When should replacement be considered?
Although the above techniques can solve most problems, in the following situations, replacing the casters with brand new ones might be a more economical and safer option:
The wheel itself has cracked or been severely worn.
The wheel frame has developed severe cracks or fractures.
All the repair methods were ineffective and the shaking persisted.
The loosening of the casters in the tool cabinet is a common but by no means complicated problem. Through systematic diagnosis and these practical quick repair techniques, you are fully capable of restoring your tool cabinet to its original state in a short time, ensuring a smooth and efficient working environment. Mastering these maintenance knowledge not only extends the service life of the equipment but also is an important part of demonstrating professional equipment management capabilities. A well-maintained and smoothly operating tool cabinet is a reliable partner for your pursuit of outstanding efficiency.